How to Change Bandsaw Blades


Table of Contents
Part 1 — Removing the Old Blade
Part 2 — Installing Your New Blade
If you need to change your bandsaw blade, it can be challenging to determine where to start. Our guide will walk you through the removal and installation processes, so you can change your blade efficiently and get back to using your bandsaw.
Part 1 — Removing the Old Blade
When determining how to change a blade on a bandsaw, you will first need a safe and efficient process for removing the old blade. Removing the blade currently on the saw is the first step in changing bandsaw blades.
We recommend you wear protective gloves throughout these processes to protect your hands from the blade.
1. Disconnect the Bandsaw From Its Power Source and Prepare Machine
When conducting maintenance on your bandsaw, the first step is to disconnect it from its power source. This step is essential in ensuring your safety while working with the equipment. You will have more assurance that the machine will remain off, protecting you from injury.
After disconnecting from the power, you can begin working with the machinery. Start by taking off the cabinet lids so you can access the wheels on the saw's interior and the blade. Before making any changes, make sure to clean out any dust or debris from the wheels, allowing you clean and unrestricted access to the wheels and blade.
Loosen the tension if you haven't already. You will need to release it to remove the blade.
2. Make Changes to the Blade Guards
Your bandsaw has three blade guards with various functions in helping your saw operate. However, when removing the bandsaw blade, you will need to remove or move these guards so you can access the blade without resistance:
- Main blade guard: This blade guard helps determine your cut thickness when working, and it has an adjustment knob on the back of the top cabinet. You will need to loosen this blade guard to move the blade, and you can do so by tightening the knob.
- Rear blade guard: The rear guard sits on the bottom wheel and helps protect the operator in case of damages by covering the blade as it moves between the wheels. You will need to remove this guard altogether, which you can accomplish by unscrewing the screws that hold it in place. Afterward, be sure to place them somewhere they will remain safe until time to reinstall them.
- Under-table blade guard: The last blade guard has a similar function to the previous because it also helps keep the blade in place if it comes off track or breaks. Remove the plastic cover on the saw table with a screwdriver to access the under-table. This guard wraps around the blade, but you can remove it by loosening the screw holding it in place and rotating the guard until it's free of the blade.
Interacting with the blade guards and making the necessary changes will give you better access to the blade.
3. Remove the Bandsaw Blade
Because you are working directly with the blade at this stage, exercise caution. The blade teeth can still be sharp, so be sure to wear gloves or some other protective hand gear.
Grab a blade section at the top wheel and remove it from the tire. As you do, turn it, so the teeth face away from your body. Repeat the same steps with the bottom wheel and after the blade is entirely free, work it through the slot in the saw table.
These steps will allow you to remove your blade safely. After it is out, many people coil it tightly to store it efficiently and secure it with a zip tie to keep it in place in your storage.
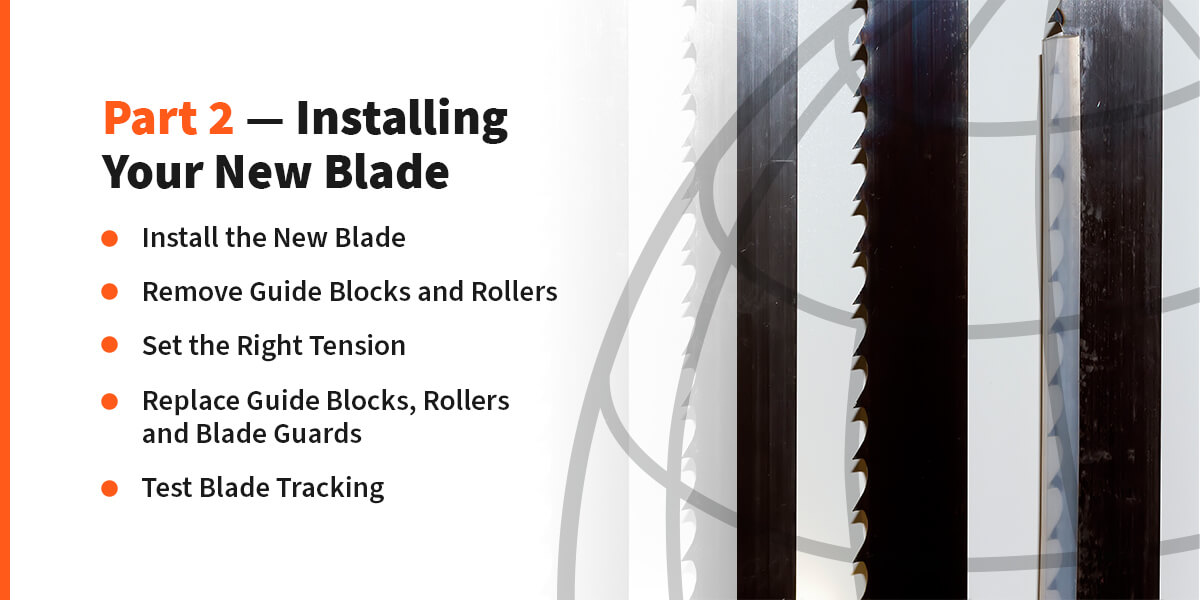
Part 2 — Installing Your New Blade
Now that you have successfully removed your previous bandsaw blade, it is time to replace it with a new one. Follow these steps to install your new blade efficiently.
1. Install the New Blade
To install your new blade, start by sliding it through the slot in the saw table, similar to how you removed the old one. Once it is all through, rotate it so the teeth face the right way and start by feeding it through the bottom tire and moving up. Once you have worked it through both tires, slightly tighten the tension, but only enough to hold the new blade in place.
2. Remove Guide Blocks and Rollers
Your bandsaw blade has two guide blocks and rollers that help keep the blade on track — one above the table and one below. In this step, you will need to remove them to make more adjustments to the tension and other features.
Removing them is the same for both sets, but start with the upper one. Unscrew the screws holding the block in place and then slide it away from the blade using a screwdriver. Do the same thing for the roller and rotate it back to move away from the blade. Then, you can repeat this process for the lower set.
3. Set the Right Tension
Each blade type has a specific tension level to function properly. Center the blade on the track and begin tightening the tension. As you do, turn the upper tire and ensure the blade stays on the tire's center.
If you notice the blade slip from the center, you may need to adjust the tracking. You can do this by accessing the tracking knob on the back of the upper cabinet. Continue to adjust that until the blade tracks correctly.
Once you are sure the blade tracks correctly, you can check the tension gauge and blade specifications to establish the proper tension for that specific blade.
4. Replace Guide Blocks, Rollers and Blade Guards
During this step, you will replace most of the pieces you removed from your blade. Starting with the bottom guide block and roller set, put them back in place and secure them with their screws. You can then move up and repeat the steps with the upper set.
This is also a good time to reinstall the blade guard you removed. Be sure you secure it back in place and include all screws and parts. However, you will want to leave the other two blade guards disengaged so you can check the blade tracking one last time.
5. Test Blade Tracking
The final step in installing your new blade is to test that your blade continues to track correctly. You will need to connect it back to its power source and turn it on while leaving the cabinets open so you can watch the blade move. Watch the blade and listen for incorrect tracking. If you see or hear anything, disconnect it again and adjust the tracking.
If everything functions as it should, you can engage the final blade guards, close the cabinets and get to work with your new blade installed.

Invest in New Bandsaw Blades With DoALL Sawing Products
Knowing how to change the blade on a bandsaw is a great skill when regularly working with this equipment. You can take better care of your equipment and replace blades when needed for continued quality products.
At DoALL Sawing Products, we manufacture bandsaw blades for cutting metal, so you can replace your bandsaw blades and cut metal with efficiency. Our high-quality customer service can help you find the right parts for your equipment and help you troubleshoot when having difficulty. For more information on how our blades can serve your business, request a quote today!